Self-Watering System for Plants: Gardena Smart System Setup & First Impressions
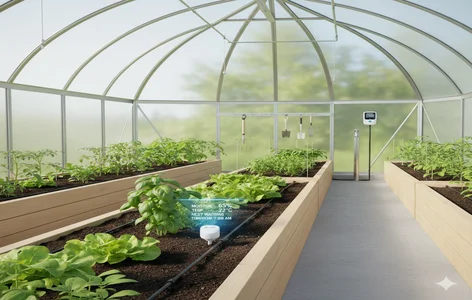
Managing a garden or greenhouse becomes challenging when you need to travel for days or even weeks. This exact situation inspired the creator of the video to look for a reliable self-watering solution while preparing to leave for a two-week trip to Sweden. Instead of building a DIY smart irrigation setup with Raspberry Pi and pumps, they chose a ready-made option: the Gardena Smart System.
This article summarizes their full hands-on experience—including unboxing, installation, setup, challenges, and first impressions.
Why a Smart Watering System Was Needed
The greenhouse had recently been turned into a small flower-growing business. With travel plans approaching, there was no option of manually watering for two weeks. The first idea was to build a custom system using:
- Raspberry Pi
- Pumps
- Home Assistant
- Z-Wave
- Custom sensors
But after realizing how complex it would be—soldering, wiring, coding—the choice became clear:
➡ Buy a consumer-ready smart irrigation system instead.
Introducing the Gardena Smart System
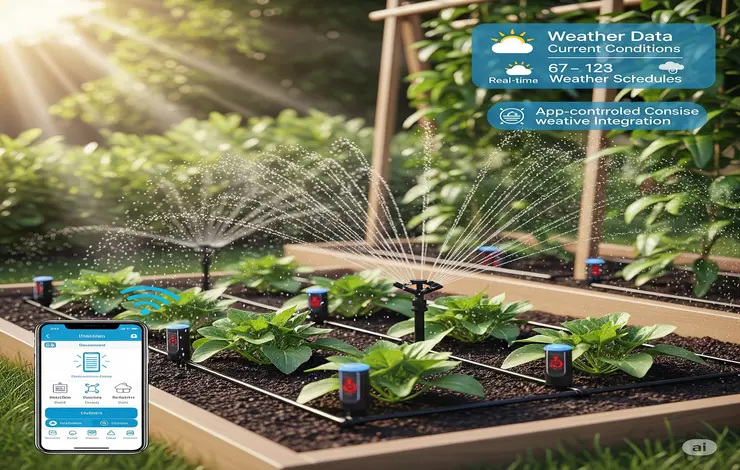
Gardena (a well-known German brand popular across Europe and Scandinavia) offers a simple, app-based watering solution consisting of three parts:
1. Gardena Smart Water Control
A smart device that connects to your outdoor water tap and controls water flow.
2. Gardena Smart Hub
Placed indoors and connected to Wi-Fi.
It communicates with all Gardena devices.
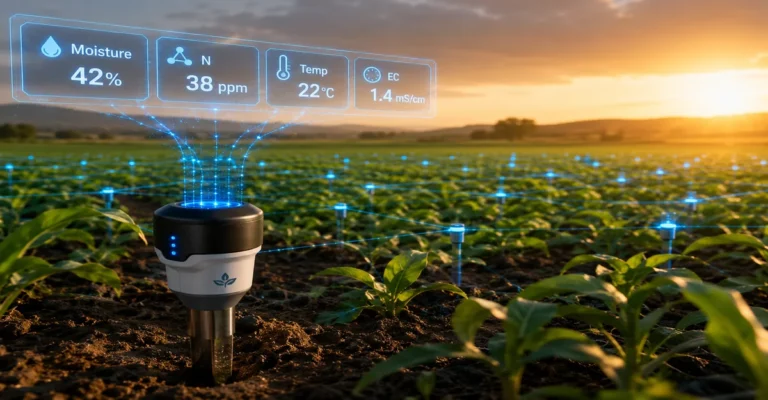
3. Gardena Smart Sensor
Placed in the soil to measure:
- Moisture level
- Soil temperature
This allows the system to water automatically based on real soil data—not guesswork.
Unboxing the Irrigation Kit
Inside the box, the creator found:
- A 15-meter main line
- Multiple connectors
- Drip nozzles
- Micro drip pipes
- Pipe holders
- Adjustable drip heads
The system is designed primarily for potted plants, but it also works perfectly for raised beds and greenhouses.
Planning the Layout
The plan was to run the irrigation line:
- Across the greenhouse
- Around the raised beds
- Up the stairs
- Into the far corner of the growing area
This layout enables water to reach every section of the greenhouse evenly.
Installing the Main Line
The installation process looks simple—but in reality, it requires patience.
Steps included:
- Laying the 15-meter main pipe around the edges.
- Cutting sections of pipe.
- Adding connectors where needed.
- Using smaller micro lines to reach individual plants.
- Installing drip heads at the end of each micro-pipe.
A few unexpected problems appeared:
❗ Hard to push the thick pipe into the fittings
The ½-inch main pipe is stiff.
Getting it into connectors while avoiding plants caused frustration, scratches, and a lot of effort.
➡ Tip: Install the main line before planting anything. It will save hours of struggle.
Dealing With Water Pressure
One major problem appeared during testing:
The spray nozzles (180° and 360° types) were receiving 1.5 bar of pressure, making them spray too far and soaking the entire greenhouse.
To fix this, the creator bought flow regulators to reduce water pressure for each sprinkler head.
Connecting the Smart Controller
The Gardena Smart Water Controller is the “brain” of the watering system.
Installation steps:
- Open the battery compartment.
- Insert three AA batteries (not the two it initially looked like!).
- Mount the controller onto the outdoor tap.
- Pair it with the Gardena Smart App via the Smart Hub.
The controller includes a physical Start/Stop button, useful for manual watering.
Setting Up the Gardena Smart App
Once the app was installed and set up, it performed an update.
The interface (in Swedish in the video) allowed:
- Manual watering (1–30 minutes)
- Scheduled watering
- Watering based on soil moisture
- Watering based on sunrise/sunset
- Watering based on weather forecasts
The app provides full remote control—perfect for travel.
Installing the Smart Soil Sensor
The soil sensor adds intelligence to the watering system.
It measures:
- Soil moisture
- Soil temperature
The creator placed it deep in the soil (up to the “minimum depth” marking).
The sensor started showing initial readings, though final calibration takes up to 24 hours.
Testing the System
Once everything was connected:
- The app triggered watering successfully.
- All drip heads responded correctly.
- The sprinklers worked well after pressure regulation.
- Soil sensor synced and began collecting data.
Because it was already raining and the soil was wet, only a short test was done to avoid overwatering.
Features the Creator Liked
✔ Easy to control watering from the phone
✔ Soil-based automatic watering
✔ Weather-based irrigation
✔ Sunrise/sunset scheduling
✔ Global control while traveling
Features They Wish Gardena Added
The biggest missing feature:
💧 Water usage statistics
They wished the app could show:
- Total liters used
- Daily/weekly usage
- Per-cycle consumption
This would make the system more transparent and efficient.
Final First Impressions
After installing the system, the initial verdict was very positive:
- The Gardena Smart System is reliable, functional, and ideal for people who travel.
- Installation can be frustrating due to the thick pipes, but once done, the system works flawlessly.
- The sensor adds real intelligence to the watering schedule.
- The app is powerful but could use more detailed stats.
Overall rating: ⭐⭐⭐⭐☆ (4/5)
Perfect for greenhouse owners, gardeners, or small plant businesses who want peace of mind during vacations.