How to Create Brat Text on a Photo
How to put brat-style text on your own photo, keep it readable, and export it without losing quality.
In this guide
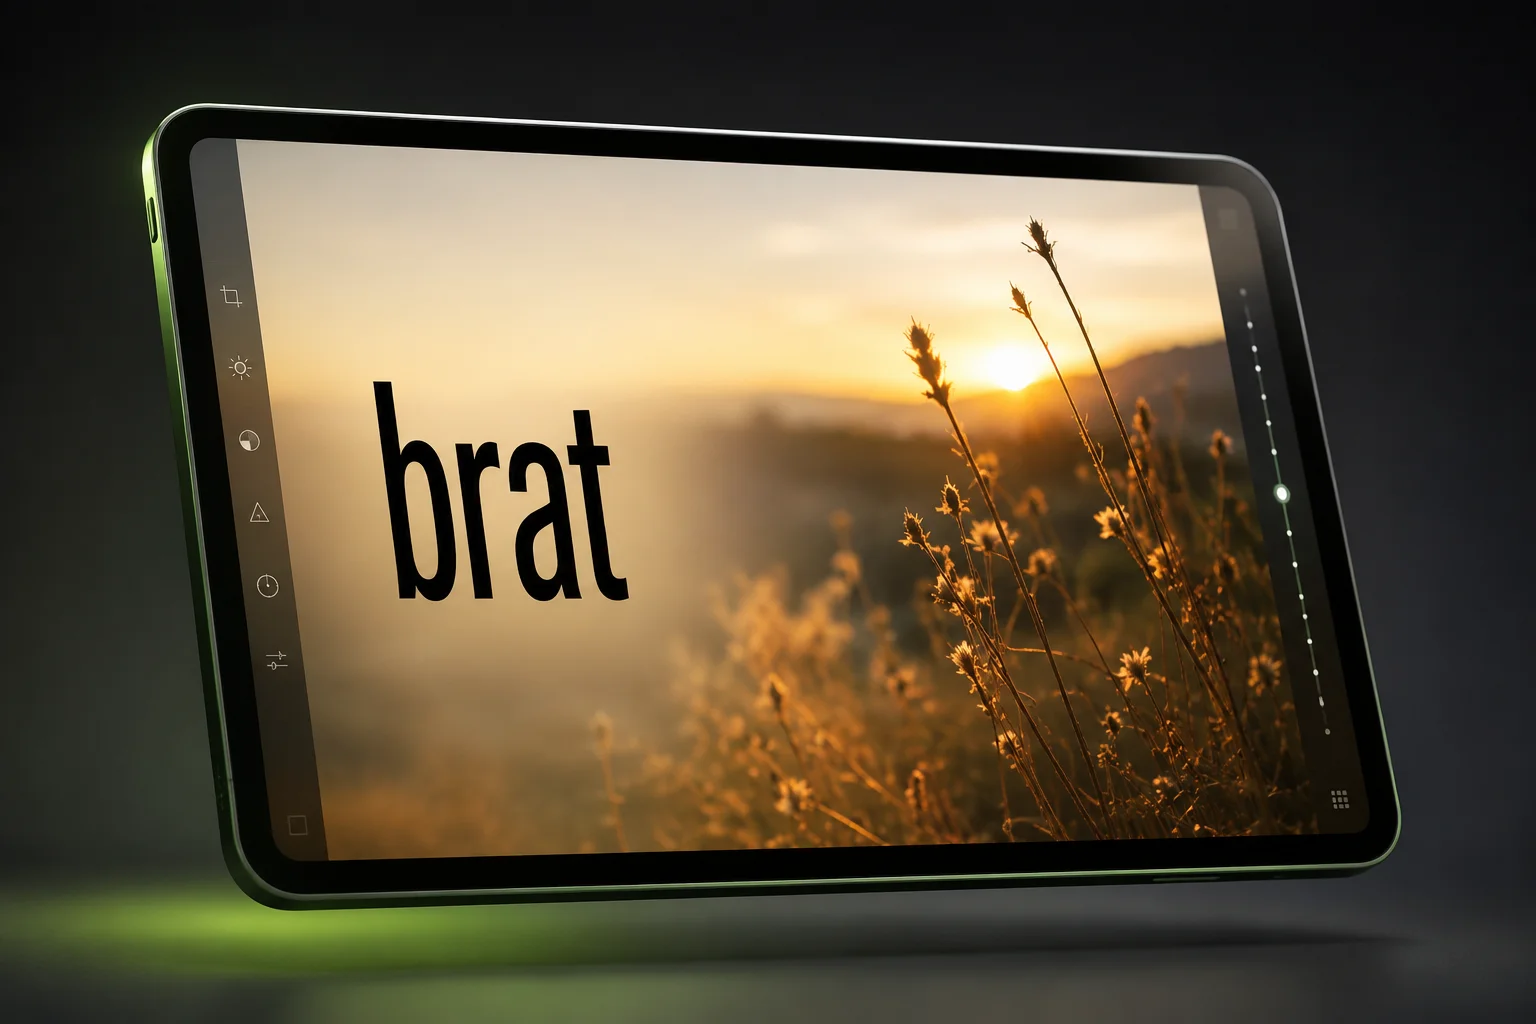
To put brat text on a photo, open the brat generator homepage, switch Background to “Image,” upload your own JPG, PNG, or WebP (up to 8MB), then type and style your text on top of it the same way you would on a solid color. The photo is cropped to fill the canvas without stretching, runs entirely in your browser, and is included in every export format.
The classic brat look is a flat color behind bold lowercase text – see the brat color code guide for the exact green – but the same styling engine works just as well over your own photo instead. This guide covers where that feature actually lives, how to pick a photo that won’t fight with the text, and the export details that matter more once a photo is involved than they do with a flat background.
What You Need for Brat Text on a Photo
The photo-upload option lives on the brat generator homepage tool specifically – it is not yet part of the smaller embedded tools on this site, like the word generator or meme generator pages, which currently only offer solid, gradient, or transparent backgrounds. If you want a photo behind your text, start from the homepage.
Your own photo in JPG, PNG, or WebP format, under 8MB, is all you need beyond that. Nothing is uploaded to a server – the file is read and drawn directly in your browser, so it never leaves your device.
Step-by-Step
- Open the brat generator and find the Background section of the controls.
- Select “Image” from the background type buttons – this reveals an upload control in place of the color pickers.
- Upload your photo. The canvas automatically crops it to fill the frame, the same way a phone’s camera app crops a photo to fit a square, so nothing gets stretched out of shape.
- Type your text – see 100 brat words for ideas – and drag it to sit over a clear, uncluttered part of the photo rather than the busiest area.
- Adjust color and effects for contrast against the photo – see the readability section below before settling on a final look.
- Download in your preferred format once the text reads clearly against the photo behind it.
Picking a Photo That Actually Works
Not every photo makes a good background for bold text. A few things make the difference between a clean result and a cluttered one:
- One area of relatively flat color or low detail. A patch of sky, a plain wall, or an out-of-focus background gives the text somewhere to sit without competing with fine detail underneath it.
- Contrast with your chosen text color. A dark photo works with white or brat-green text; a bright, high-key photo works better with black – see best colors that go with brat green for pairings that hold up well against a photo, not just a flat background.
- A subject that isn’t centered. If the photo’s main subject sits off to one side, the empty space on the other side becomes a natural spot for the text without covering anything important.
A busy, high-detail photo with no calm area anywhere in the frame is the hardest starting point – the text will fight the image no matter where it’s placed.
Making the Text Readable Over a Busy Photo
A flat color background makes contrast simple to judge – a photo does not, since brightness and detail vary across the frame. A few built-in options help:
- The Shadow toggle. Adding a drop shadow behind the text lifts it away from a busy photo, giving it an edge even when the photo behind it is a similar tone to the text color.
- The Glow toggle. A soft glow works similarly to shadow, but reads better over darker photos where a shadow alone can disappear into the background.
- Bold weight. Turning on bold thickens the letterforms, which holds up better against a busy photo than a thin weight that can get visually lost in fine detail.
The built-in contrast checker below the canvas is calibrated for flat colors, so treat it as a starting point rather than a final word once a photo is involved – always look at the actual rendered result, not just the numeric ratio.
Exporting Without Losing Photo Quality
PNG and WebP export the photo and text together without additional compression artifacts beyond what your original photo already had. JPG applies its own compression on export, which can slightly soften fine detail in the photo – usually not noticeable, but worth avoiding if the photo itself is the main subject rather than just a backdrop for the text.
SVG export embeds the photo directly inside the file rather than referencing it externally, which means an SVG with a photo background is a meaningfully larger file than the text-only SVG covered in the transparent background guide. If file size matters, export as PNG or WebP instead when a photo is involved. If you’re building a square cover rather than a photo overlay, the brat album cover generator covers the true high-resolution export settings for that specific case.
Common Mistakes
Mistake: Placing text over the busiest part of the photo.
Look for a calmer area first – a patch of sky, a plain wall, an out-of-focus zone – rather than defaulting to dead-center regardless of what’s there.
Mistake: Picking a text color without checking it against the actual photo.
The contrast checker below the canvas is built for flat colors. Judge readability against your specific photo by eye, and use the shadow or glow toggle if the color alone isn’t enough.
Mistake: Exporting as SVG when a photo is involved.
An SVG with an embedded photo is much larger than a text-only SVG. Use PNG or WebP instead unless you specifically need a scalable vector file.
Mistake: Uploading a file over 8MB.
The upload will be rejected past that limit. Compress or resize a large photo before uploading if your camera or phone produces files larger than that.
FAQ
Can I put brat text on my own photo instead of a solid color?
Yes. Choose “Image” under Background on the brat generator homepage, upload a JPG, PNG, or WebP up to 8MB, and your text is overlaid on top of it.
Does the photo-upload feature work on the word generator or meme generator pages too?
Not yet. The Image background option currently lives only on the brat generator homepage tool; the smaller embedded tools on this site offer solid, gradient, or transparent backgrounds only.
Is my photo uploaded to a server?
No. The photo is read and drawn directly in your browser and never leaves your device. Closing the tab clears it unless you’ve already downloaded your export.
Will my photo get stretched or distorted?
No. The photo is cropped to fill the canvas, the same way a phone camera app crops a photo to fit a square, rather than being stretched out of proportion.
What’s the maximum photo size I can upload?
8MB. Compress or resize a larger file before uploading if it exceeds that limit.
Why does my text look hard to read over the photo?
Photos have varying brightness and detail across the frame, unlike a flat color. Try the shadow or glow toggle, switch to a bold weight, or reposition the text over a calmer area of the photo.
Should I export as PNG or SVG when using a photo background?
PNG or WebP. SVG embeds the photo directly in the file, making it much larger than a text-only SVG export.
Can I remove the photo and go back to a solid color?
Yes, there’s a “Remove image” option next to the upload control that clears the photo and returns you to the color background options.
Is this free to use?
Yes, fully free, with no signup, no watermark, and no paywalled features.