Brat Birthday Invitation: Sizes, Ideas & Free Generator
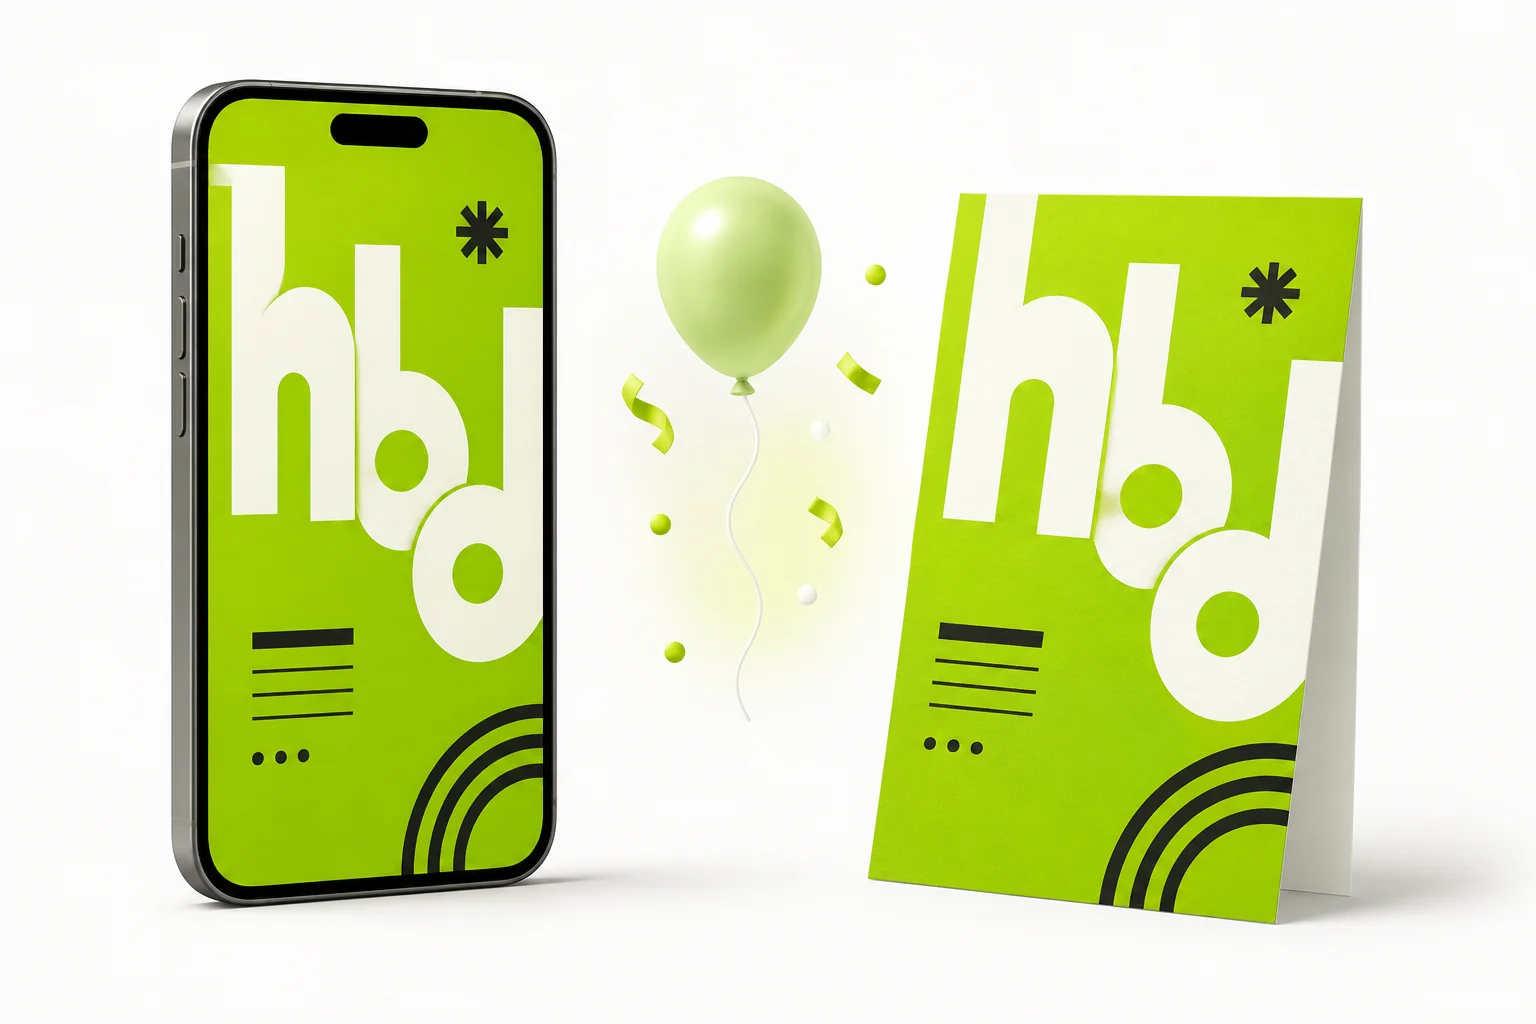
How to make a brat birthday invitation for texting, Instagram, or a printed card, with ready-to-use wording and the right size for each.
In this guide
To make a brat birthday invitation, open the brat generator, type the party details as a few short line-broken lines, pick a square or story-shaped size for texting and Instagram, or a small custom size like 5x7in at 300 DPI for a printed card, and export as PNG.
Brat Birthday Invitation: Digital vs. Printed
Most brat birthday invitations get sent, not mailed – a photo dropped into a group chat, an Instagram Story, or a DM. That changes what “the right size” means compared to a poster or an album cover: instead of optimizing for a wall, you’re optimizing for a phone screen shared between different apps that each handle image previews a little differently.
A smaller number of people still want an actual printed card, either mailed or handed out – that’s a much smaller physical size than a poster, so it can use full 300 DPI print quality without running anywhere near this tool’s size limits. The sections below cover both routes.
Fitting the Party Details in One Text Block
The brat generator‘s text field holds up to 120 characters and applies one font size to everything you type – there’s no separate “headline” size and “details” size the way a printed invitation template usually has. Line breaks are preserved, so you can stack several short lines, but all of them render at the same size and weight.
A useful birthday invitation normally covers a handful of specific details: the celebrant’s name, the date, the start time, the venue or a short location, an RSVP contact or deadline, and – if it applies – a dress code or party theme. That’s more than most people can fit comfortably at 120 characters once every line is spelled out in full, so it helps to know what to trim and where to put the rest.
The practical fix is to split the information rather than force all of it into the graphic. Keep the essentials – name, date, time, and a short venue name – on the graphic itself, and put anything that needs more room, like a full street address, driving directions, or detailed RSVP instructions, into the WhatsApp message, DM, or caption you send along with the image. That keeps the graphic legible and still gets every detail to your guests.
This also happens to match the brat aesthetic itself, which was never about a polished invitation hierarchy in the first place – flat, blunt, and a little thrown-together is the actual look, not a limitation to work around.
Brat Birthday Invitation Wording Ideas
Five short, ready-to-adapt examples for the generator’s single text block, each within the 120-character limit. Replace the example name, date, venue, and phone number with your own details before sending – none of the contact information below is real. For the dress-code example, the exact brat green hex code and a few colors that pair well with it are worth checking if you want guests to actually match the theme rather than guess at the shade.
Simple birthday invitation
jordan turns 27
sat sept 12 - 7pm
the rooftop bar
rsvp by sept 5
Adult birthday party
drinks + chaos
casey's 30th
sat sept 12 - 9pm
loft on 5th
rsvp: 555-0148
Kids’ birthday party
riley's brat bday bash
sun sept 13 - 2pm
maple park pavilion
parents welcome
WhatsApp invitation
you're invited
sam turns 21
fri sept 18 - 8pm
details in chat
Brat-themed or dress-code invitation
wear green or don't come
morgan's brat bday
sat sept 12 - 8pm
rsvp: 555-0148
The Right Size for Digital Invitations
| Where it’s going | Size preset | Pixels |
|---|---|---|
| Group chat, WhatsApp, text message, or public Instagram feed | Instagram Post | 1080 x 1080 |
| Instagram Story or DM | Instagram Story | 1080 x 1920 |
1080×1080 is a practical all-purpose option, not a mandatory WhatsApp requirement – it previews reasonably across most messaging apps without an awkward crop. A tall, Story-shaped image may appear cropped or reduced in a chat preview outside Instagram, though recipients can usually still open the full image at its original aspect ratio; a square design just gives a more consistent preview across different apps without relying on that extra tap.
The Right Size for a Printed Invitation
A printed invitation is held in the hand and read up close, the same as a photo – so unlike a brat poster, it should stay at full 300 DPI rather than dropping to a lower DPI for scale. At invitation size, that’s still a small pixel count, well under this tool’s 6000px custom size cap:
| Card size | Pixels at 300 DPI (final trim size) |
|---|---|
| 4 x 6in | 1200 x 1800 |
| 5 x 7in | 1500 x 2100 |
| A6 (105 x 148mm) | approximately 1240 x 1748 (sometimes rounded to 1240 x 1750) |
These are final, trimmed dimensions – the size of the card after cutting, not necessarily the size to export if your print shop requires bleed. Bleed is extra image area added past the trim line so tiny alignment shifts during cutting don’t leave a white edge; requirements vary by printer, so confirm with your specific print shop before exporting. As one example, a 5x7in card with a common 0.125-inch bleed on every edge becomes a 5.25 x 7.25in canvas, or 1575 x 2175px at 300 DPI. Whatever bleed size you use, keep your name, date, and other essential text at least 0.25 inch inside the final trim edge so nothing important gets cut off – and if your print shop offers a downloadable template, use it instead of estimating bleed yourself, since exact requirements differ between printers.
Enter your final canvas dimensions using “Custom size…” in the export menu, since none of the built-in social presets match a standard card size.
Square design, print card, different shape: a square 1080×1080 digital design and a 5x7in printed card use different aspect ratios – a square doesn’t divide evenly into a 5:7 rectangle. Don’t design something square and try to force it into a 5×7 print layout afterward, since that either crops part of the design or leaves unwanted blank borders. Decide on your final digital or print dimensions before you start arranging text, and keep anything important away from the edges either way.
Step-by-Step
- Decide digital or print first, since that decides your aspect ratio and dimensions.
- Open the brat generator and select your final size before you start arranging text – a preset for digital, or “Custom size…” with the dimensions from the tables above for a print card.
- Type the party details as short line-broken lines rather than full sentences – see the wording ideas above, or borrow phrasing from 100 brat words for the headline itself.
- Include RSVP information if it fits within the character limit; if it doesn’t, put it in the message or caption you send along with the image instead.
- Adjust font size until your longest line fits the canvas width without wrapping awkwardly, and check contrast and readability against your chosen background.
- Keep all text inside a safe area, away from the very edge of the canvas – especially important for a print card that may get trimmed.
- Export as PNG once the layout reads clearly.
- Preview the exported image on the device or format you’ll actually use it on – a phone screen for digital, or a printed proof for a physical card, before sending it to everyone.
- For a printed card, confirm bleed and trim requirements with your printer before placing the final order, and use their template if one is available.
Common Mistakes
Mistake: Writing a full sentence instead of short lines.
A long sentence forces a smaller font size to fit, and the text field only holds 120 characters total. Short line-broken details read better and fit more comfortably.
Mistake: Assuming a tall Story-shaped image always gets cut off outside Instagram.
Tall invitations may appear cropped or reduced in a chat preview, although recipients can usually open the full image. A square design provides a more consistent preview across messaging apps, but it’s a preference, not a strict requirement.
Mistake: Designing a square image and forcing it into a 5×7 print layout afterward.
A square and a 5x7in rectangle are different aspect ratios. Decide on your final digital or print dimensions before you start arranging text, not after.
Mistake: Exporting a print invitation at the default 1080×1080.
That’s fine for a phone screen but soft once printed at card size. Use “Custom size…” with the pixel dimensions from the print sizes table above.
Mistake: Placing the date or location at the very edge of the canvas.
Leave a safe margin on all sides, especially for a printed card – keep essential text at least 0.25 inch inside the final trim edge in case the print shop’s cut shifts slightly.
FAQ
What size should a digital brat birthday invitation be?
1080×1080 (Instagram Post size) is a practical all-purpose choice for group chats, text messages, and Instagram feed posts, since it previews reasonably across most apps. Use 1080×1920 (Instagram Story size) if you’re posting specifically to a Story or sending as a DM.
Can I fit the name, date, time, and location all in one invitation?
Often yes, using short line-broken lines within the 120-character limit. A useful invitation also typically includes an RSVP contact or deadline and, if relevant, a dress code – if everything doesn’t fit, keep the essentials on the graphic and put the rest in the accompanying message.
Can I make the party details smaller than the headline text?
Not within a single export – the tool applies one font size to the entire text block. Keep every line short enough to work at one size rather than trying to create a two-tier layout.
What size should I use for a printed invitation card?
Common card sizes like 5x7in, 4x6in, or A6 at 300 DPI – see the print sizes table above for exact pixel dimensions. These are final trimmed sizes; add bleed if your print shop requires it, and confirm exact requirements with them directly.
Will my invitation get cut off if I send a tall image in a group chat?
Tall invitations may appear cropped or reduced in a chat preview, although recipients can usually open the full image. A square design provides a more consistent preview across messaging apps, so it’s the safer default for anything shared outside Instagram itself.
Does a printed invitation need the same low DPI as a poster?
No. A printed invitation is held and read up close like a photo, so it should stay at full 300 DPI. The lower-DPI approach only applies to large formats like posters viewed from a distance.
Can I turn a square digital design into a 5×7 printed card?
Not directly – a square and a 5x7in rectangle are different aspect ratios, so forcing one into the other crops content or adds unwanted blank borders. Decide on your final digital or print dimensions before arranging your text.
Can I use a photo background for the invitation?
Yes – see the brat text on a photo guide for how the Image background option works.
Is this free to use?
Yes, fully free, with no signup, no watermark, and no paywalled features.
We checked these canvas sizes and DPI figures against the export options currently available in the brat generator. Bleed and trim requirements can vary by print shop, so confirm those specifically with the printer you use.