How to Make a Brat Poster Online
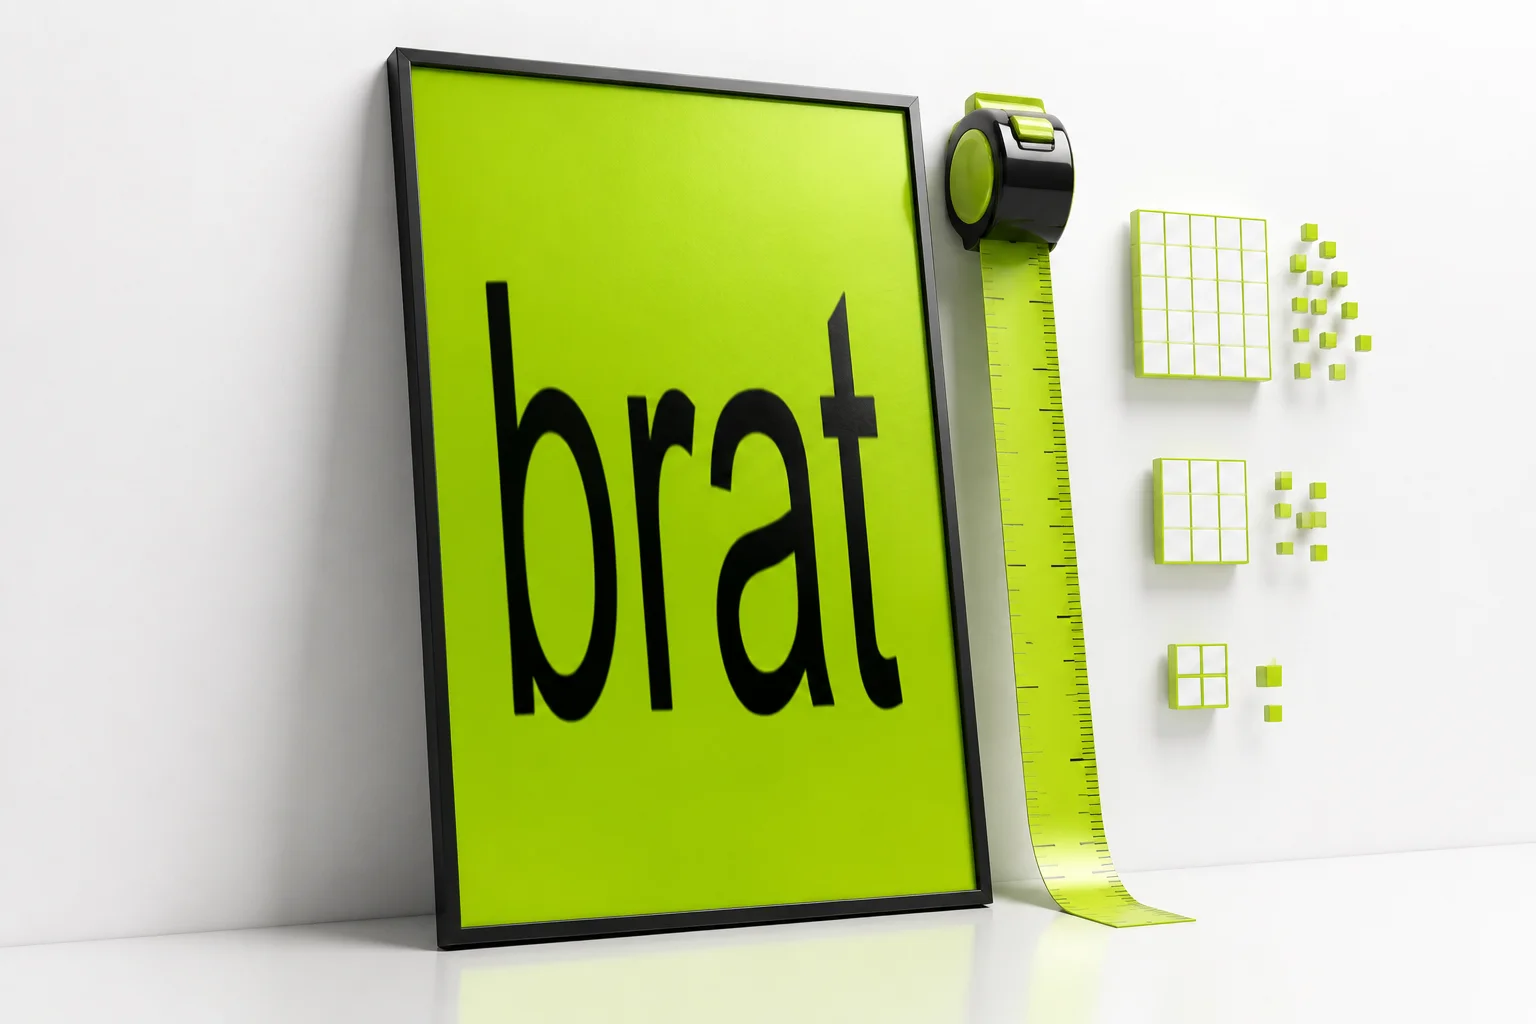
How to make a brat poster online at real print resolution, without the pixel size that works for social posts leaving it blurry on a wall.
In this guide
To make a brat poster, open the brat generator, choose “Custom size…” from the export presets, and enter pixel dimensions based on your poster size at 150-200 DPI rather than the 300 DPI used for photo prints – a 24x36in poster only needs about 3600x5400px, well under the tool’s 6000px cap, and still prints sharp at normal poster viewing distance.
Why a Brat Poster Needs a Different Size Than a Post
The default export size is 1080×1080 – fine for a phone screen, but that’s roughly 3.6 inches square at photo-print resolution. Blow that up to an 18x24in poster and every pixel gets stretched to more than six times its original size, which is what makes an image printed from a social-media-sized file look soft or blocky on paper.
The fix isn’t just picking a bigger number, though. A photo you hold in your hand needs about 300 DPI (dots per inch) to look sharp, because your eye is inches away from it. A poster is viewed from several feet back, the same way a billboard or a movie poster is – at that distance, 150 to 200 DPI reads just as sharp to the eye, and it’s the actual standard most print shops use for large-format prints. Treating a poster like an oversized photo and demanding 300 DPI at every size just means a pixel count that’s often larger than it needs to be, and in this tool’s case, larger than its 6000-pixel custom size cap allows.
The Right Pixel Size for Common Poster Sizes
The brat generator‘s custom width and height fields accept up to 6000 pixels each. Here’s what that means for common poster sizes at a print-appropriate DPI:
| Poster size | 150 DPI (pixels) | 200 DPI (pixels) | 300 DPI (pixels) |
|---|---|---|---|
| 11 x 17in (tabloid) | 1650 x 2550 | 2200 x 3400 | 3300 x 5100 |
| 18 x 24in | 2700 x 3600 | 3600 x 4800 | 5400 x 7200 (exceeds cap) |
| 24 x 36in (large art/wall poster) | 3600 x 5400 | 4800 x 7200 (exceeds cap) | 7200 x 10800 (exceeds cap) |
The pattern is straightforward: the bigger the physical poster, the lower the DPI needs to be to stay under the tool’s 6000px limit – and that’s fine, because a poster that size is never viewed up close. For anything up to roughly 18x24in, 200 DPI comfortably fits. For a full 24x36in poster, 150 DPI is the number to enter, not a downgrade from 300 – it’s the resolution actually used for that size in professional printing.
If you’d rather not do the math yourself, the album cover generator’s recommended settings section covers the same width/height math for a square format, and the brat color code guide has the exact CMYK values if your print shop asks for them specifically.
Step-by-Step
- Open the brat generator and find the export size dropdown.
- Choose “Custom size…” rather than one of the social-media presets.
- Enter your width and height in pixels using the table above for your poster size and a 150-200 DPI target.
- Style your text – see 100 brat words for wording ideas – and position it with enough margin that nothing important sits at the very edge, in case a print shop trims slightly during cutting.
- Check the background at full size before exporting – see the section below on backgrounds that hold up at poster scale.
- Export as PNG for the sharpest result, or SVG if your print shop specifically asks for a vector file.
Choosing a Background That Holds Up at Poster Scale
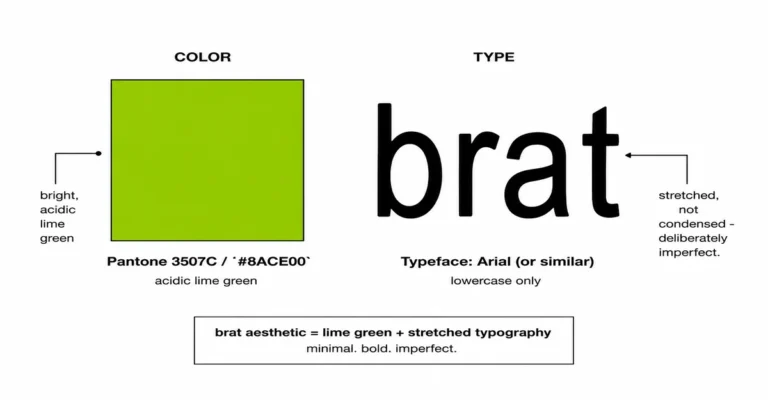
A flat color background scales perfectly to any size, since there’s no detail to lose – the classic brat green works exactly the same at poster size as it does at 1080×1080. A photo background is a different story: an image that looked fine as a small social post can reveal noise, blur, or compression artifacts once it’s stretched across two or three feet of paper, because you’re now enlarging whatever pixel detail was already there rather than adding real detail.
If you’re using a photo background – see the brat text on a photo guide for how that feature works – start from the highest-resolution version of the photo you have, and preview it at full size before exporting rather than judging it from a shrunk-down browser preview.
Exporting for a Print Shop vs. Printing at Home
PNG is the safest export format for either route – it keeps the full pixel dimensions you set without the compression softening that JPG applies. If a print shop asks for a specific color profile or bleed margin, mention that when you upload the file; this tool doesn’t add bleed automatically, so build a small margin around your text yourself if the shop requires one, rather than placing text right at the edge.
Printing at home on a standard printer tops out at a much smaller physical size than most poster dimensions, so home printing usually means scaling down to something like 11x17in on a wide-format home printer, or splitting a larger design across multiple standard pages – a print shop or online print service is the more practical route for anything 18x24in and up. If you only need a smaller printed piece, the album cover guide and the transparent background guide cover formats that print well at home without needing a shop at all.
Common Mistakes
Mistake: Exporting at the default 1080×1080 and enlarging it later.
Set the actual pixel dimensions for your poster size before exporting – stretching a small export afterward in another program doesn’t add back detail that was never there.
Mistake: Assuming every print needs 300 DPI.
300 DPI is for close-viewing prints like photos. A poster viewed from a few feet away looks just as sharp at 150-200 DPI, and staying at that range keeps larger poster sizes under this tool’s 6000px cap.
Mistake: Placing text right at the edge of the canvas.
Leave a margin, since print shops often trim slightly during cutting – text placed flush with the edge risks getting clipped.
Mistake: Using a low-resolution photo as a poster background.
Start from the highest-resolution version of the photo available – a photo that’s already small or compressed will look worse enlarged to poster size, regardless of the canvas size you set in the tool.
FAQ
What pixel size should I use for a brat poster?
It depends on the physical poster size and DPI target – see the table above. For an 18x24in poster, 3600x4800px at 200 DPI is a solid choice; for a full 24x36in poster, 3600x5400px at 150 DPI fits under the tool’s 6000px cap.
Do posters really need less DPI than photos?
Yes. Photos are viewed up close, so they need about 300 DPI to look sharp. Posters are viewed from several feet away, so 150-200 DPI looks equally sharp at that distance and is the standard most large-format print shops actually use.
What’s the maximum size I can export?
The custom width and height fields each accept up to 6000 pixels. At 150 DPI, that’s a 40x40in maximum square size; a rectangular poster like 24x36in fits comfortably within that cap.
Can I make a poster from a photo instead of a flat color?
Yes, using the Image background option – see the brat text on a photo guide. Start from the highest-resolution photo you have, since enlarging a small photo to poster size will show its existing softness or compression more clearly.
Should I export as PNG or SVG for a print shop?
PNG is the safest default and keeps your exact pixel dimensions without extra compression. Use SVG only if your specific print shop asks for a vector file.
Does this tool add bleed margin automatically?
No. If your print shop requires bleed, build a small margin around your text yourself and keep important content away from the very edge of the canvas.
Can I print a brat poster at home?
Standard home printers top out well below most poster sizes. For anything 18x24in or larger, a print shop or online print service is the more practical option.
Will the chaos/blur effect still look good at poster size?
Yes – it scales with the canvas the same way the flat color background does. Preview it at full export size rather than judging it from the smaller on-screen preview before deciding on the final chaos amount.
Is this free to use?
Yes, fully free, with no signup, no watermark, and no paywalled features.